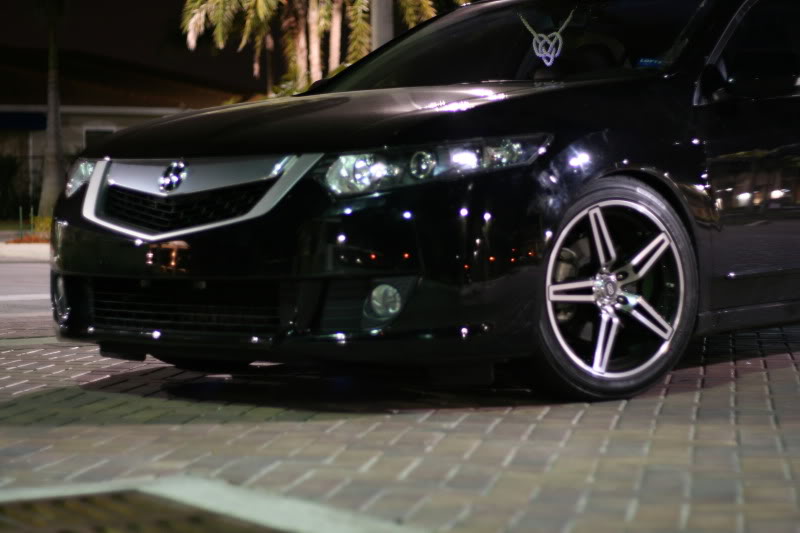
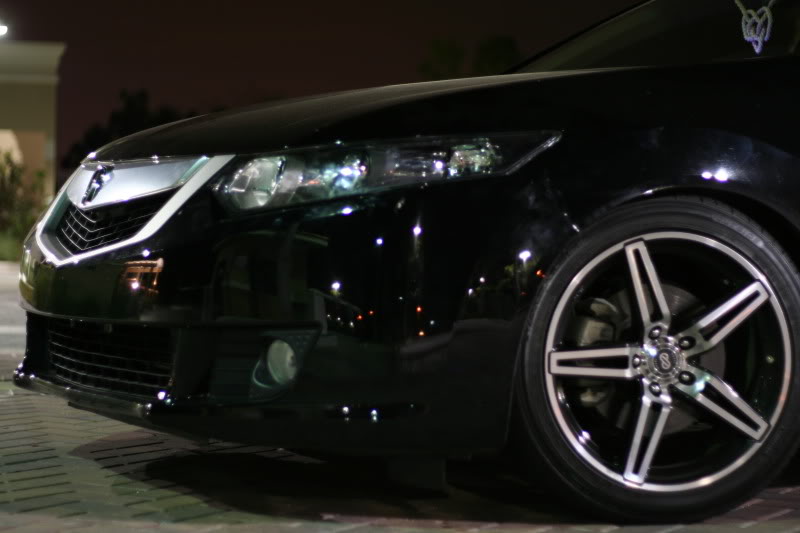
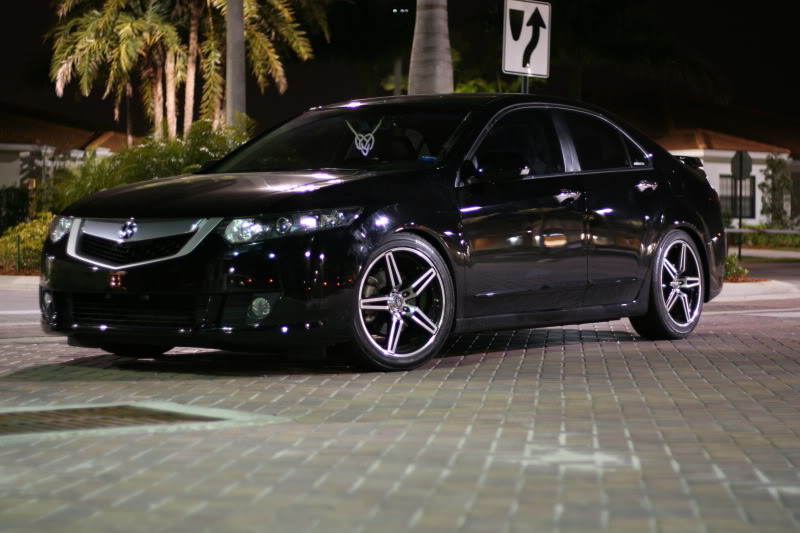
G-009: DIY Cleared Headlights 2G (lots of pictures)
 03-12-2010, 07:52 PM
#1
Three Wheelin'
Thread Starter
G-009: DIY Cleared Headlights 2G (lots of pictures)
Well, it was Spring Break for me this past week, and I decided to clear out my headlights. This is a rather general DIY guide since there are parts where we forgot to take pictures. It took us about 3.5 hours since we were taking our time and we were also seafoaming my other car and buffing out the headlights on my other TSX and cleaning the carpet on my friend's car. It took about 20 minutes to take off my bumper since we had to use to OEM jack to jack the car up so we can use the hydraulic jack lol.
Things you need...
Common Sense and basic mechanical skills. I am not responsible for anything you mess up or any harm you cause your selves and/or others.
Philips screw driver
Flat head screwdriver
ratchet set extension 10mm head
Flat blade like those used for painting or tiling. (i used a plastic and metal one). Or anything that will give you leverage to pry open the 2 piece.
sealant gasket/ silicon either black or clear (*if you feel the need to, we didn't use any since we were careful when we took apart the headlight and was able to reuse all of it.)
chalking gun helps resealing the headlight instead of the tube method.(only if you want to apply extra sealant or etc.)
news paper or something to cover your work area. (a towel you don't need works great)
about 6 clamps (*we only bought 6 since we worked on one at a time)
an oven
oven mitts (you probably will have to throw these away afterwards)
paper towels/microfiber cloths
goo-gone
*This is a guide. Attempt on your own risk. I'm not responsible for mistakes you made*
*I also recommend doing one headlight at a time since you can reference to your other headlight when reassembling your headlight back together.
*Preheat oven to about 270F. On our first headlight, we had it set at 250F but then it wasn't hot enough to melt the sealant completely, we had to put it in a couple times for it to work. On the second one, we had it set to 270F and everything came off nicely. Be careful with this since if you leave for too long you could soften the black plastic housing and potentially melt it altogether.
*if you do get the glue/sealant gray sticky stuff onto the black housing or even on your headlight, don't worry. just use goo gone and use a paper towel and gently but firmly scrub it off. just go over it a couple times and the sticky stuff should come off. it comes off easier when it�s still the headlight and sticky stuff is still warm
Let's begin...
1) Disconnect your battery (*Make sure you have your codes before you disconnect)
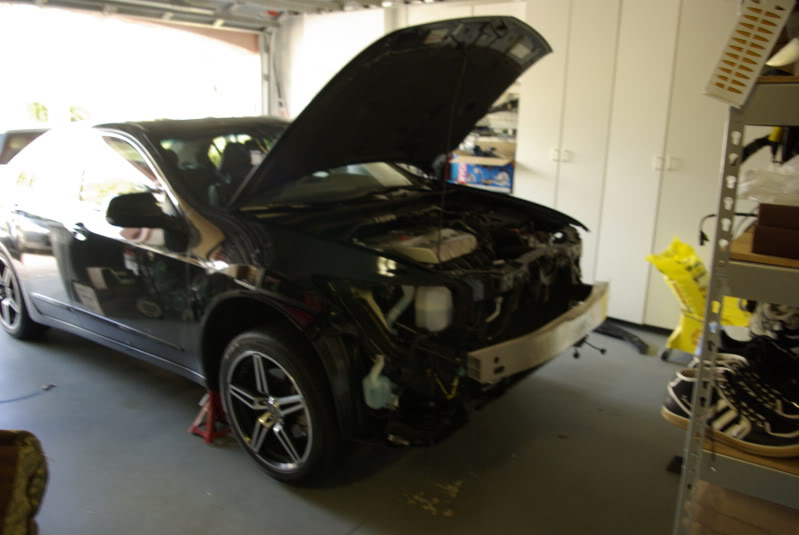
2)Take off your bumper (*I'm not posting steps on how to take off your bumper since if you don't know how to then I think you should not do your headlights)
This is how your it should look like...
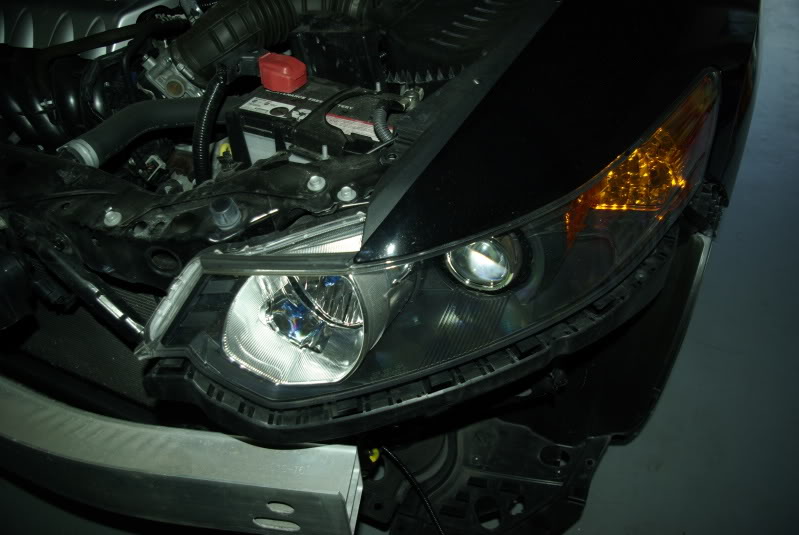
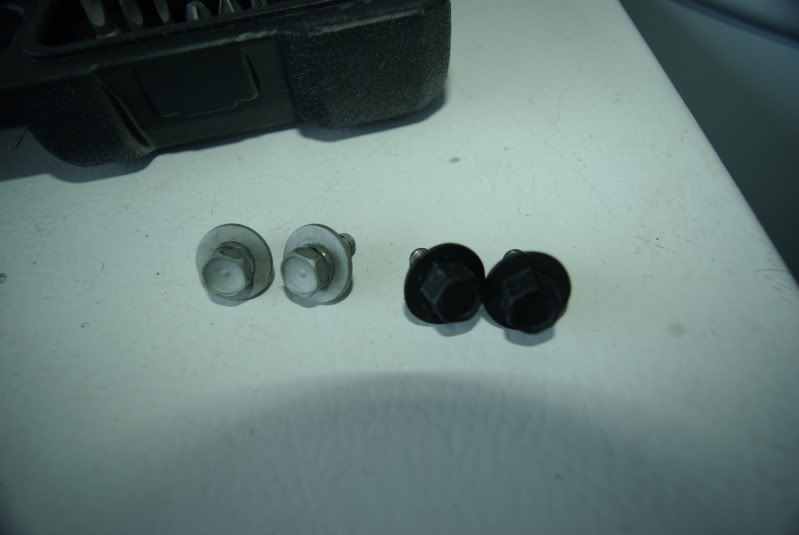
3)Next, there are 4 bolts holding the headlight in place.
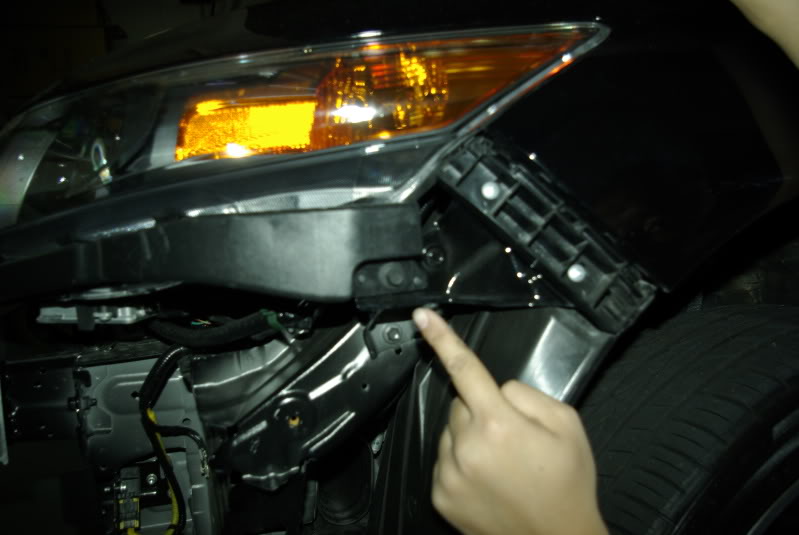

in the next picture, remove the two bolts under the black lining.
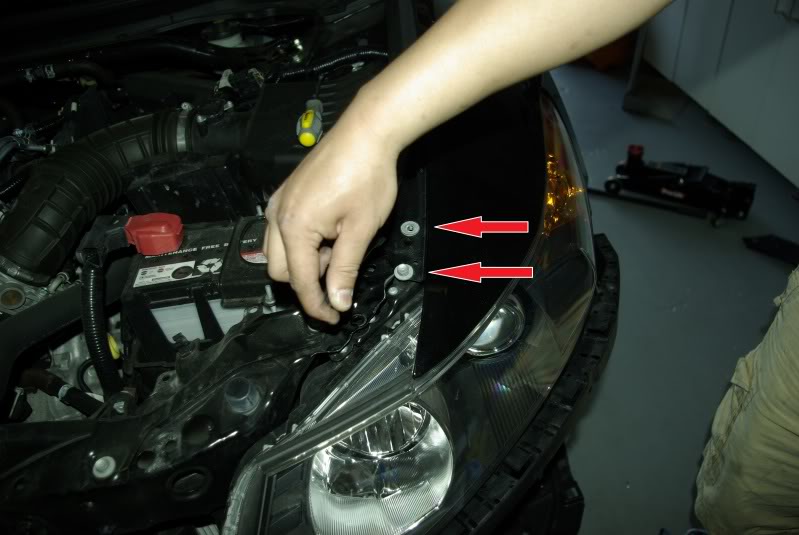
the 4 bolts...
4)slowly remove your headlight and disconnect all the plugs
Lo-Beam HID/ High-beam/ Turn Signal
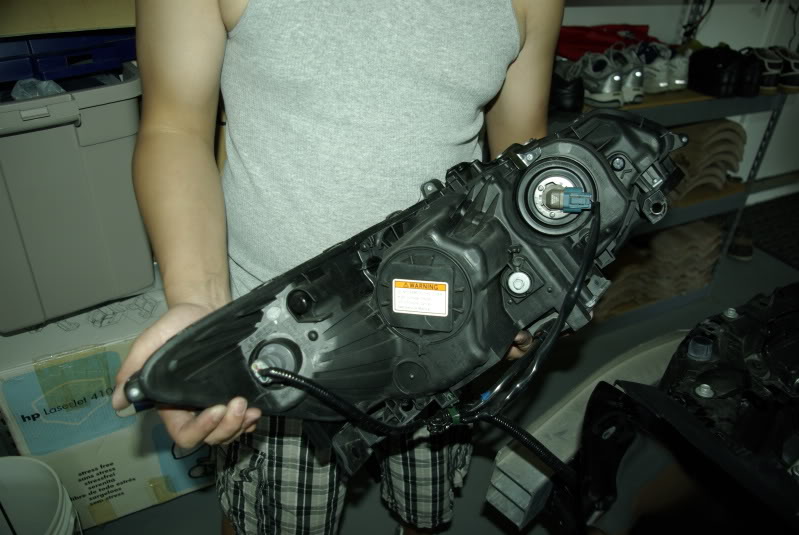
pull green tab out of hole, should be easy to take out
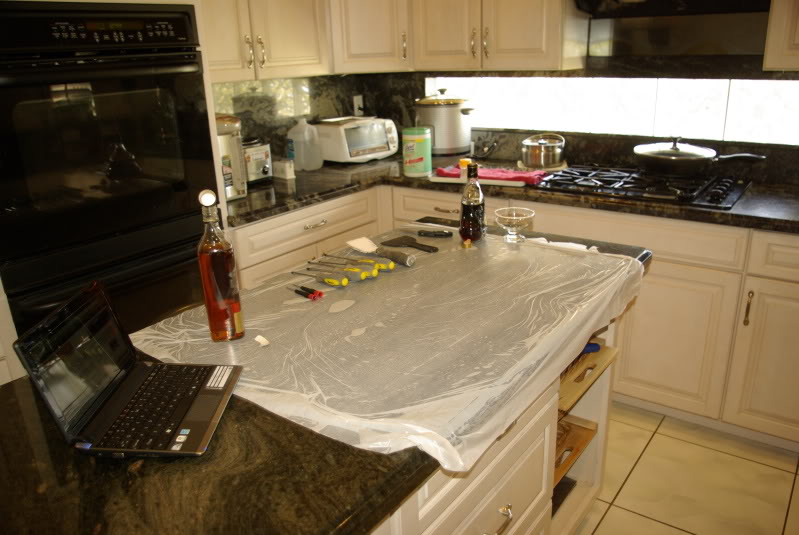
5)prepare your workspace and have tools ready...haha yea a bottle of johnnie walker black label and hennesey cognac xo hehe
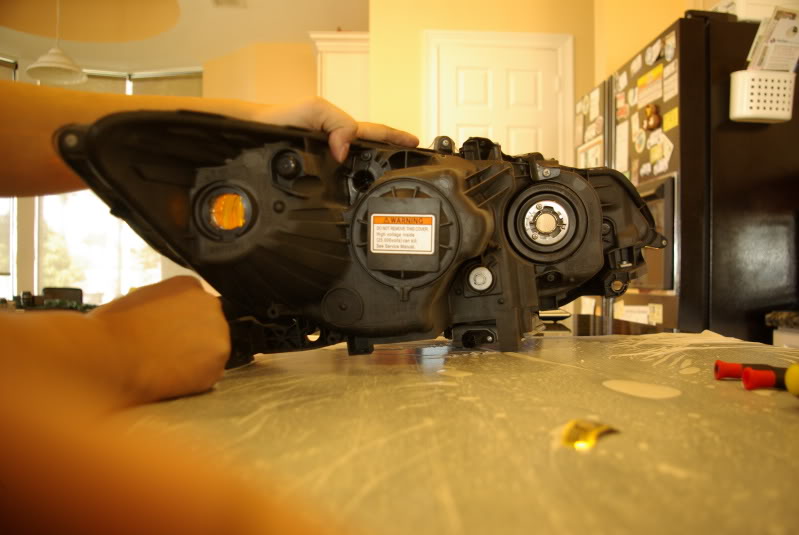
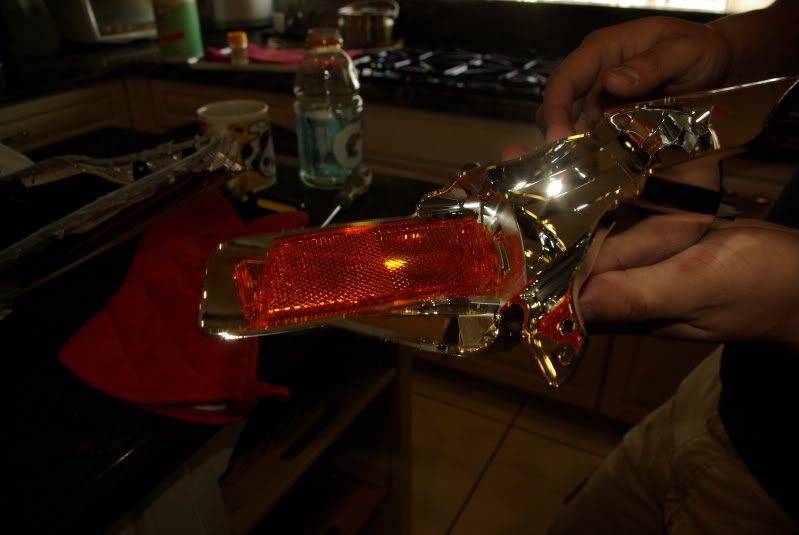
6)center cap with warning label is your HID, take it off by rotating it to left (i think), it should be easy to take off.
7)take off the HID bulb, REMEMBER HOW YOU TOOK IT OFF. SINCE YOU WILL NEED TO PUT IT BACK TOGETHER. sorry we forgot to take pictures, but you will see it. push it back and fold it down and then pull out the bulb. set it aside.
here is one with the bulb taken out
8)now just start unscrew everything. Remember where all your screws go. That's why I said to do one headlight at a time. Also, place all those screws in a small cup or container so you know those are the screws for outside the headlight, there will be a couple inside.
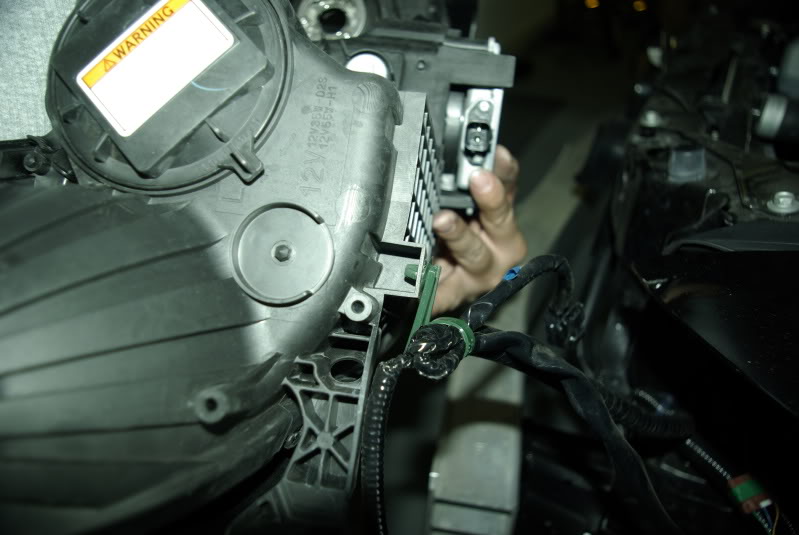
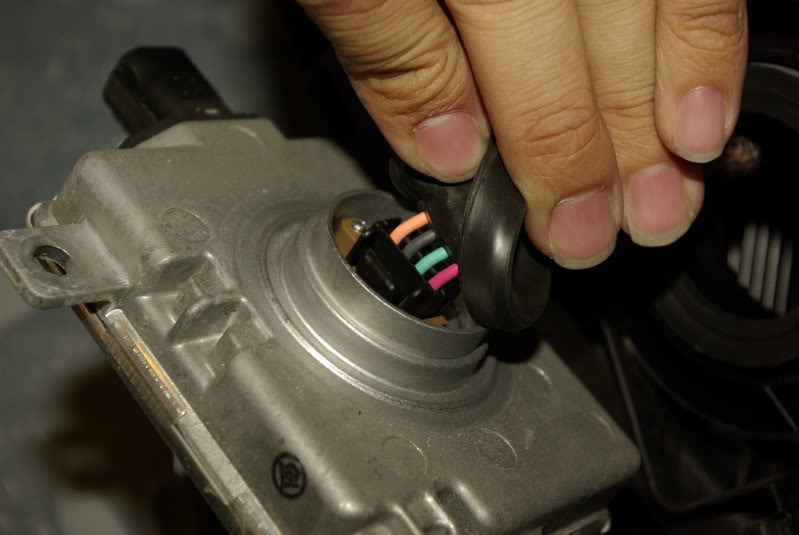
9)once you remove the screws, remove HID ballast from headlight. Also remove the bulb and set aside somewhere safely and don�t touch the bulb. (If you do then clean it with rubbing alcohol)
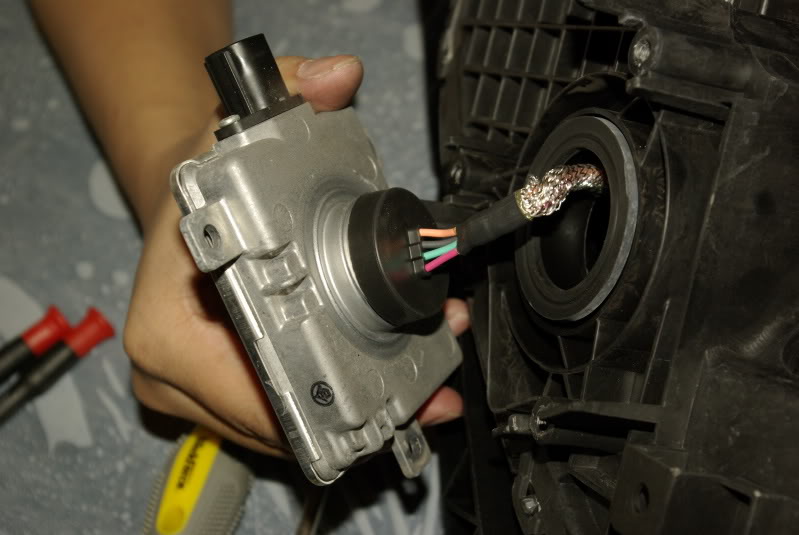
disconnect the hid ballast and set aside.
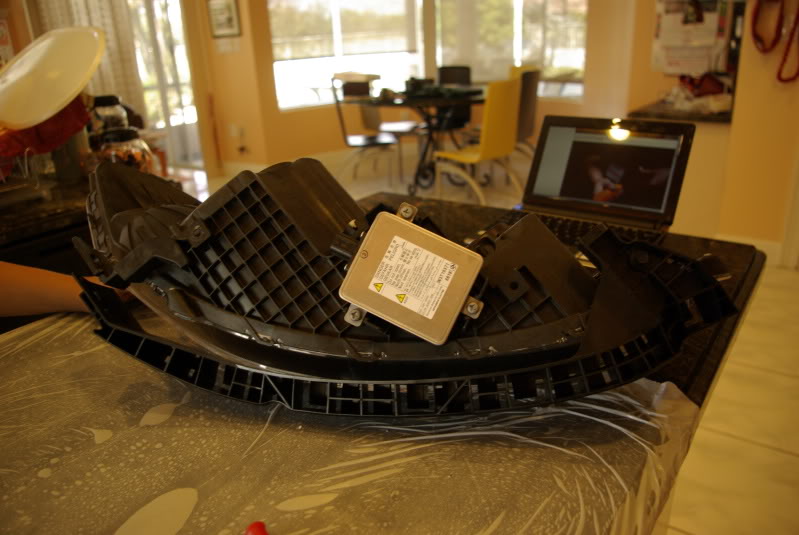
10) Once you have unscrewed all the screws from your headlight, it�s time to put the headlight in the oven. Your oven should have been preheated already. Make sure you have enough room to put it in. Place headlight in oven. You can use a cookie tray if you want to.
Leave it in the oven for about 10 minutes...
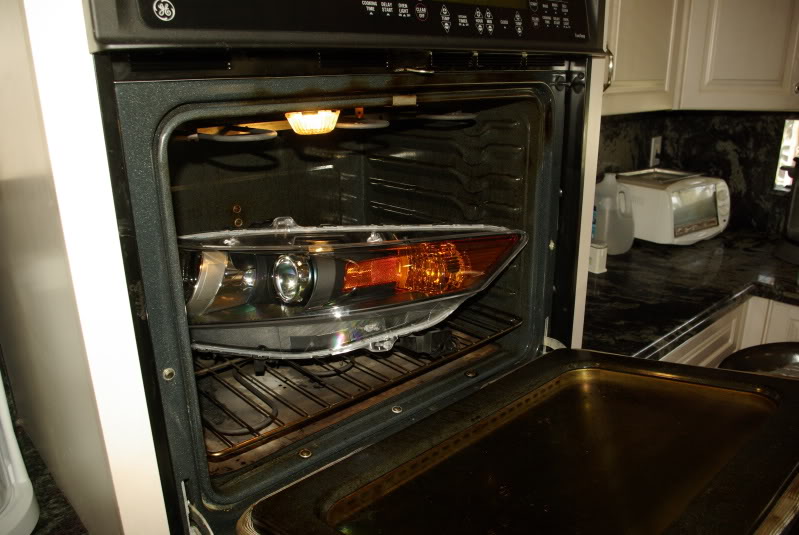
11)After 10 minutes...Ding! Take headlight out of oven onto covered table.
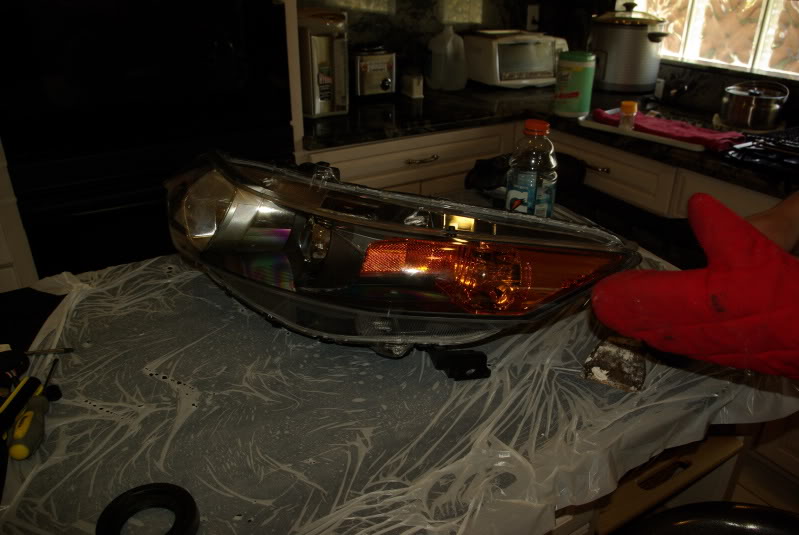
Use the flat blade and gently but quickly pry apart the headlight housing. Don't put too much pressure when doing this. Just work it for it to come a little bit loose and try to work your way around the headlight. You might have to do put it in the oven again if the sealant starts to cool. *Be careful when putting it back in the oven since it could soften your black housing.*
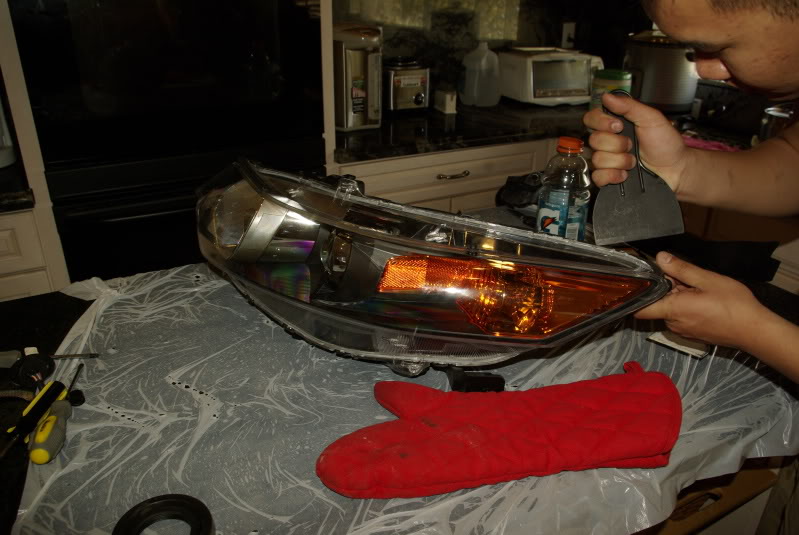
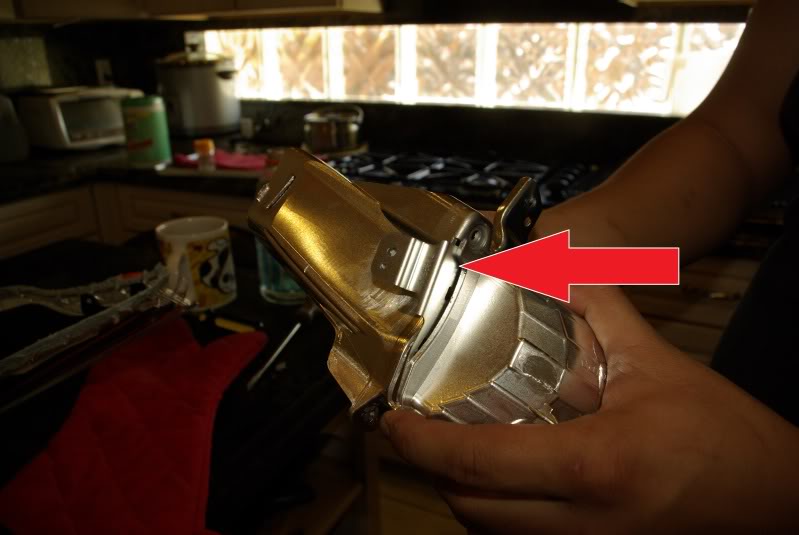
12)After you have taken out apart the headlight..Be careful not to touch the projector.
unscrew all the screws inside the headlight and separate them into another pile. They are all the same screws inside. The first thing you notice is that the screws from the inside of the housing are somewhat polished compared to the ones outside.
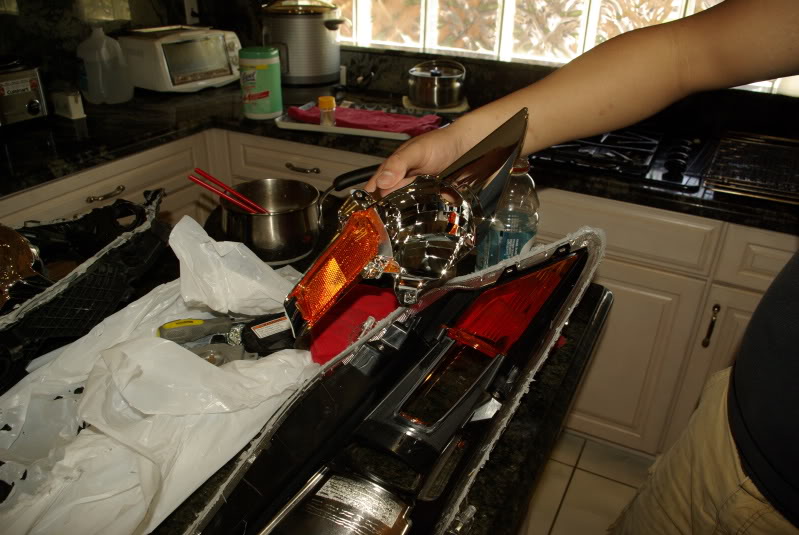
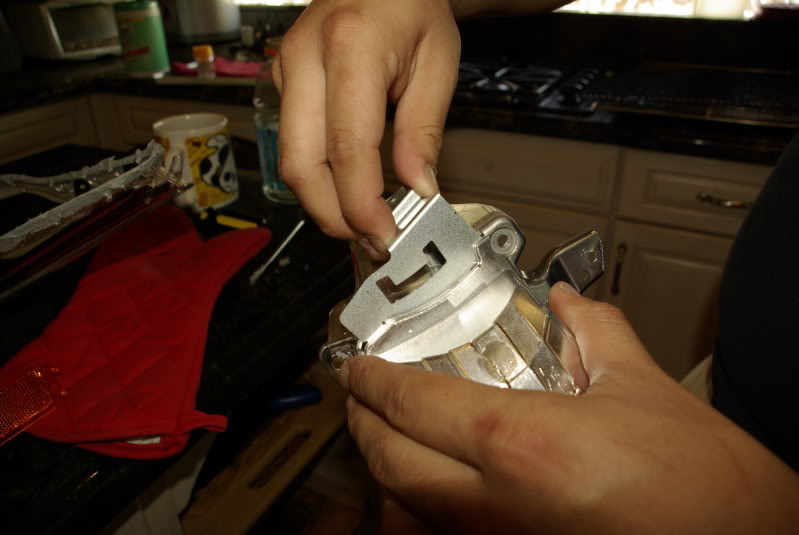
my friend demonstrating the stuff inside the headlight

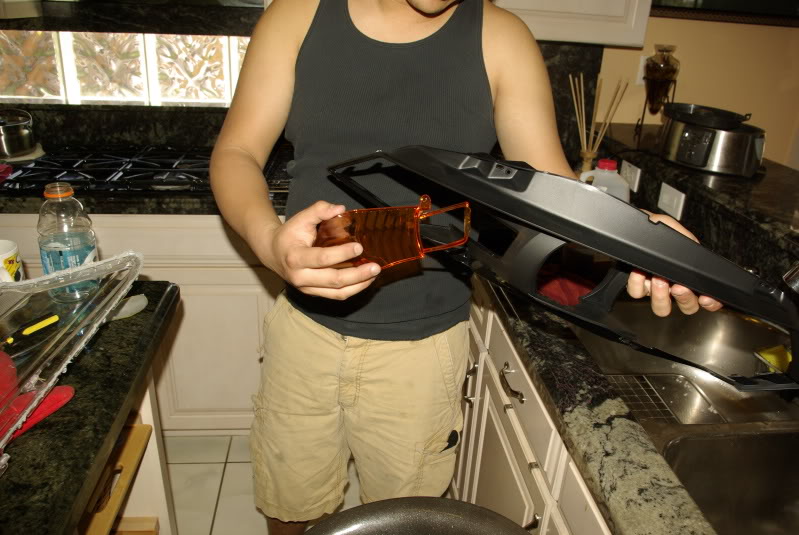
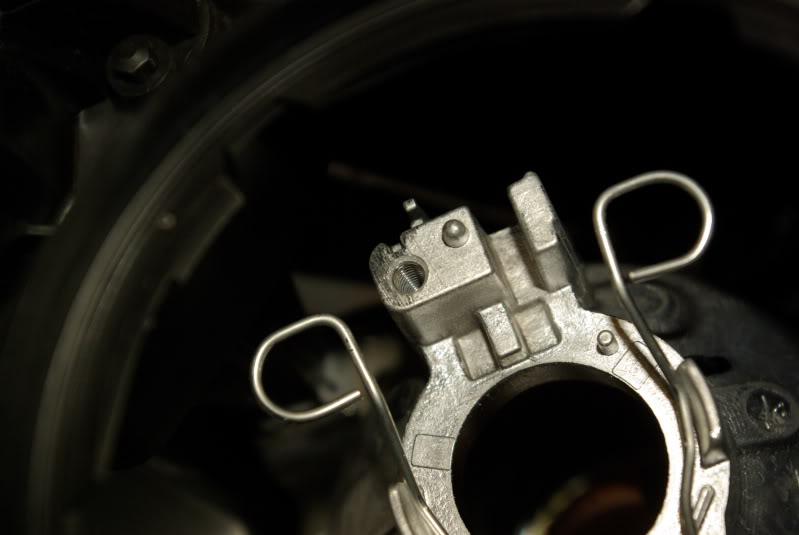
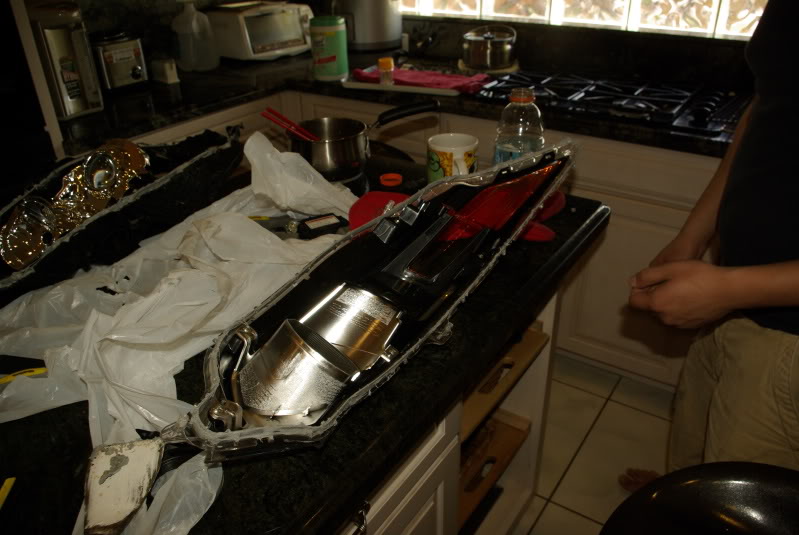
notice this metal piece...
pull it out...(*thats what she said lol)
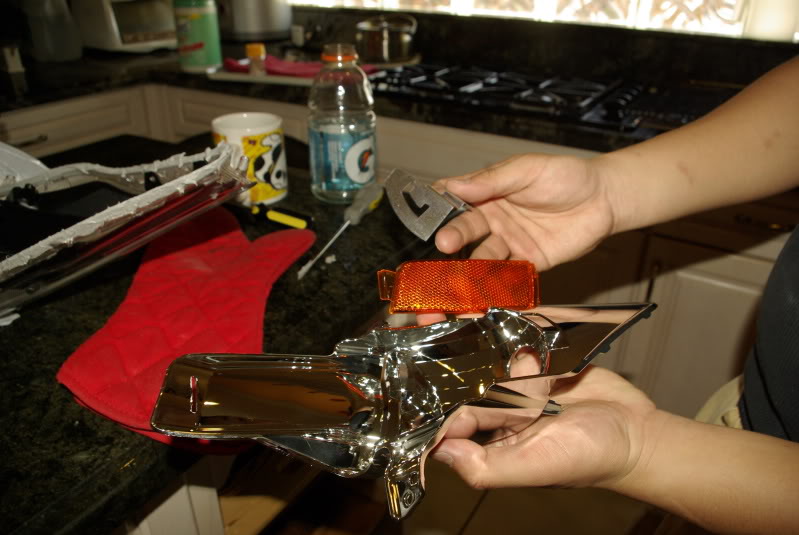
everything should fall apart...
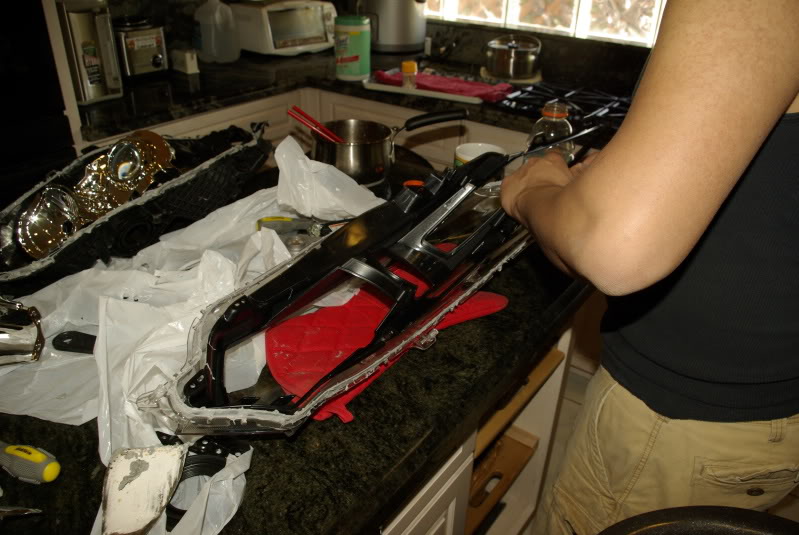
13) time to put back the headlight together...
put back all screws in the right place. MAKE SURE TO FEED THE HID CONNECTOR... I made the mistake in not doing this and after everything was glued back, I had to put on my thinking cap on how to feed it through, luckily you can always depend on 550 cord.
14)Put both headlight pieces in the oven. I have two ovens so it helped a lot. In the oven for another 10 minutes and once that is done, take it out and be careful not to smear the glue on the inner housing. Carefully put both pieces together and make sure to not smear the sealant inside the housing. Put back HID ballast, connect them. Put back the bulb back in by having the butterfly spring pushed back...hard to explain it, but just make sure you remember the how you took it apart
Once you have it set, put the 6 clamps around the headlight like this...
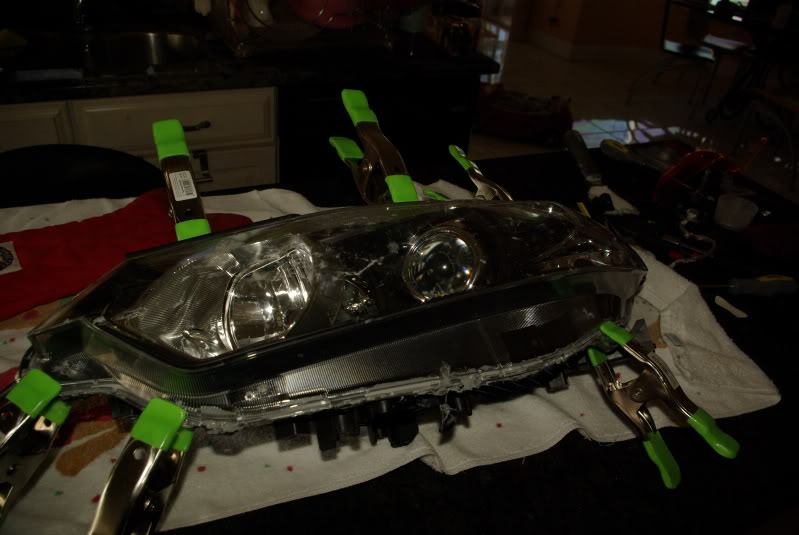
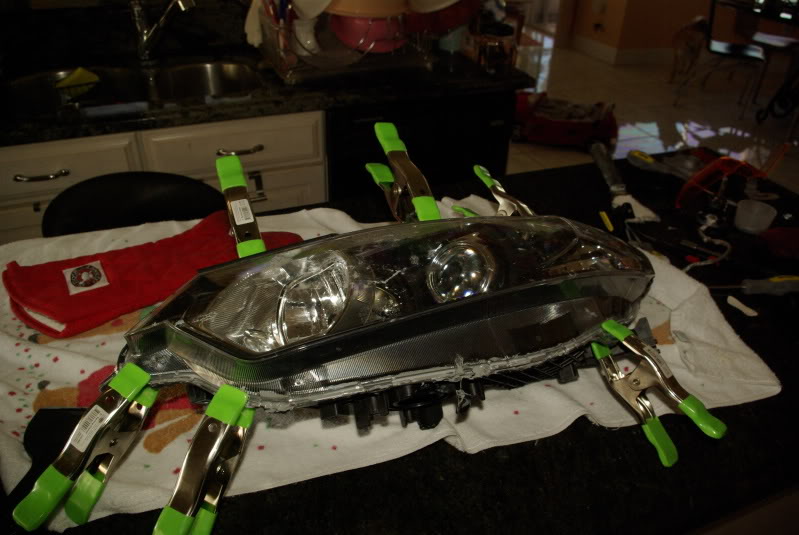
Comparison to headlight with yellow piece
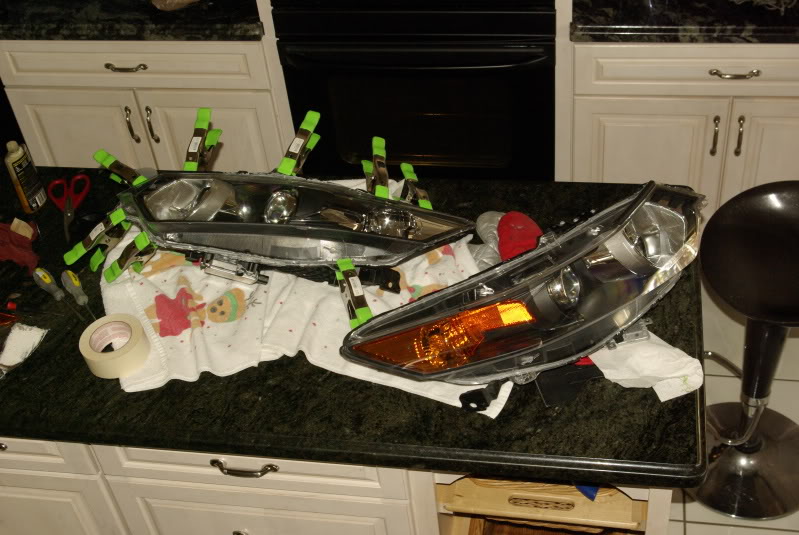
15) Repeat steps again for second headlight
my baby with no eyes
repeating steps...
16)Once you have pieced together the second headlight, take off clamps off first one and put on second headlight. At this time, just let the first headlight continue to cool down if you want.
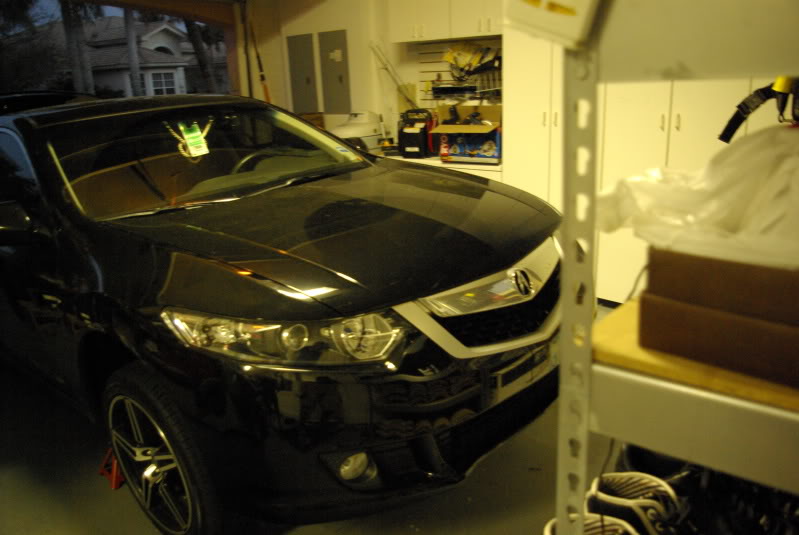
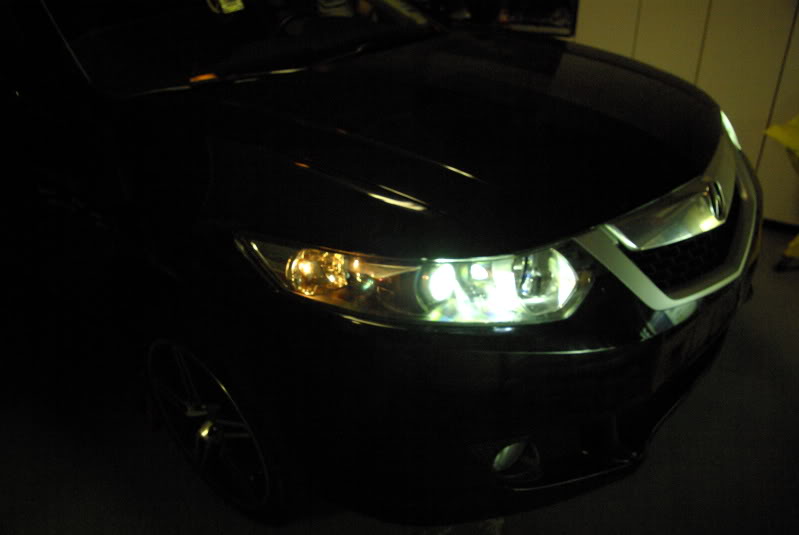
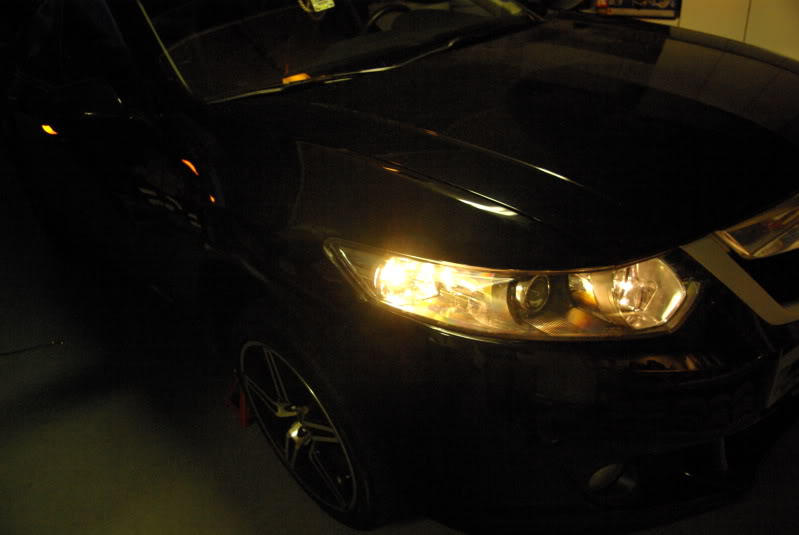
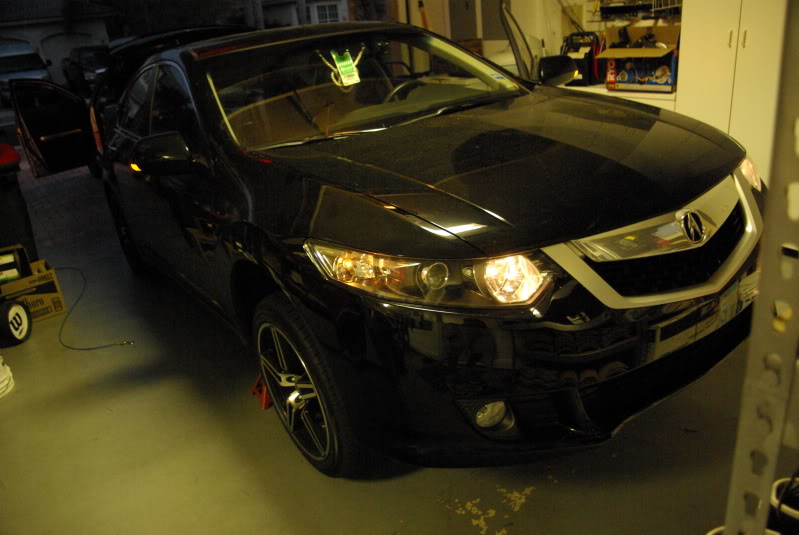
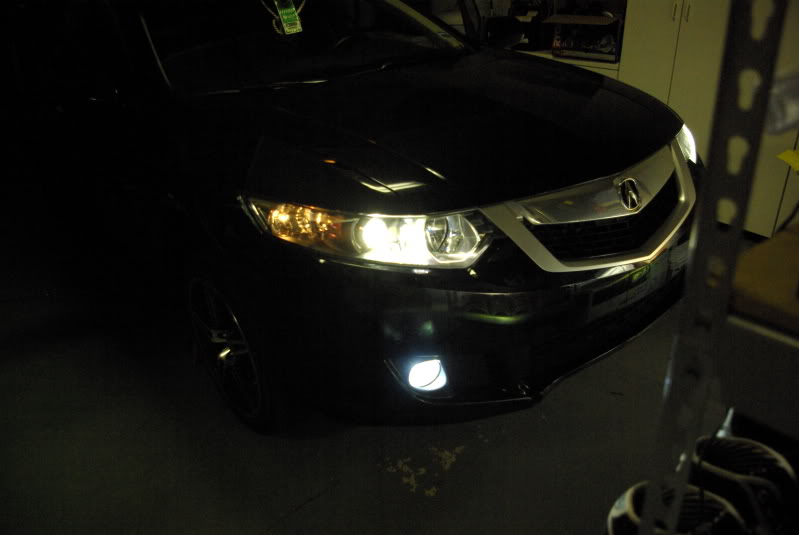
17)Replace headlights back into car and you are DONE!!! You now have cleared headlights!!! Connect plugs back in. Before you put your bumper back on, connect your battery to test out if your lights work. Now put bumper back on....

Things you need...
Common Sense and basic mechanical skills. I am not responsible for anything you mess up or any harm you cause your selves and/or others.
Philips screw driver
Flat head screwdriver
ratchet set extension 10mm head
Flat blade like those used for painting or tiling. (i used a plastic and metal one). Or anything that will give you leverage to pry open the 2 piece.
sealant gasket/ silicon either black or clear (*if you feel the need to, we didn't use any since we were careful when we took apart the headlight and was able to reuse all of it.)
chalking gun helps resealing the headlight instead of the tube method.(only if you want to apply extra sealant or etc.)
news paper or something to cover your work area. (a towel you don't need works great)
about 6 clamps (*we only bought 6 since we worked on one at a time)
an oven
oven mitts (you probably will have to throw these away afterwards)
paper towels/microfiber cloths
goo-gone
*This is a guide. Attempt on your own risk. I'm not responsible for mistakes you made*
*I also recommend doing one headlight at a time since you can reference to your other headlight when reassembling your headlight back together.
*Preheat oven to about 270F. On our first headlight, we had it set at 250F but then it wasn't hot enough to melt the sealant completely, we had to put it in a couple times for it to work. On the second one, we had it set to 270F and everything came off nicely. Be careful with this since if you leave for too long you could soften the black plastic housing and potentially melt it altogether.
*if you do get the glue/sealant gray sticky stuff onto the black housing or even on your headlight, don't worry. just use goo gone and use a paper towel and gently but firmly scrub it off. just go over it a couple times and the sticky stuff should come off. it comes off easier when it�s still the headlight and sticky stuff is still warm
Let's begin...
1) Disconnect your battery (*Make sure you have your codes before you disconnect)
2)Take off your bumper (*I'm not posting steps on how to take off your bumper since if you don't know how to then I think you should not do your headlights)
This is how your it should look like...
3)Next, there are 4 bolts holding the headlight in place.
in the next picture, remove the two bolts under the black lining.
the 4 bolts...
4)slowly remove your headlight and disconnect all the plugs
Lo-Beam HID/ High-beam/ Turn Signal
pull green tab out of hole, should be easy to take out
5)prepare your workspace and have tools ready...haha yea a bottle of johnnie walker black label and hennesey cognac xo hehe
6)center cap with warning label is your HID, take it off by rotating it to left (i think), it should be easy to take off.
7)take off the HID bulb, REMEMBER HOW YOU TOOK IT OFF. SINCE YOU WILL NEED TO PUT IT BACK TOGETHER. sorry we forgot to take pictures, but you will see it. push it back and fold it down and then pull out the bulb. set it aside.
here is one with the bulb taken out
8)now just start unscrew everything. Remember where all your screws go. That's why I said to do one headlight at a time. Also, place all those screws in a small cup or container so you know those are the screws for outside the headlight, there will be a couple inside.
9)once you remove the screws, remove HID ballast from headlight. Also remove the bulb and set aside somewhere safely and don�t touch the bulb. (If you do then clean it with rubbing alcohol)
disconnect the hid ballast and set aside.
10) Once you have unscrewed all the screws from your headlight, it�s time to put the headlight in the oven. Your oven should have been preheated already. Make sure you have enough room to put it in. Place headlight in oven. You can use a cookie tray if you want to.
Leave it in the oven for about 10 minutes...
11)After 10 minutes...Ding! Take headlight out of oven onto covered table.
Use the flat blade and gently but quickly pry apart the headlight housing. Don't put too much pressure when doing this. Just work it for it to come a little bit loose and try to work your way around the headlight. You might have to do put it in the oven again if the sealant starts to cool. *Be careful when putting it back in the oven since it could soften your black housing.*
12)After you have taken out apart the headlight..Be careful not to touch the projector.
unscrew all the screws inside the headlight and separate them into another pile. They are all the same screws inside. The first thing you notice is that the screws from the inside of the housing are somewhat polished compared to the ones outside.
my friend demonstrating the stuff inside the headlight
notice this metal piece...
pull it out...(*thats what she said lol)
everything should fall apart...
13) time to put back the headlight together...
put back all screws in the right place. MAKE SURE TO FEED THE HID CONNECTOR... I made the mistake in not doing this and after everything was glued back, I had to put on my thinking cap on how to feed it through, luckily you can always depend on 550 cord.
14)Put both headlight pieces in the oven. I have two ovens so it helped a lot. In the oven for another 10 minutes and once that is done, take it out and be careful not to smear the glue on the inner housing. Carefully put both pieces together and make sure to not smear the sealant inside the housing. Put back HID ballast, connect them. Put back the bulb back in by having the butterfly spring pushed back...hard to explain it, but just make sure you remember the how you took it apart
Once you have it set, put the 6 clamps around the headlight like this...
Comparison to headlight with yellow piece
15) Repeat steps again for second headlight
my baby with no eyes
repeating steps...
16)Once you have pieced together the second headlight, take off clamps off first one and put on second headlight. At this time, just let the first headlight continue to cool down if you want.
17)Replace headlights back into car and you are DONE!!! You now have cleared headlights!!! Connect plugs back in. Before you put your bumper back on, connect your battery to test out if your lights work. Now put bumper back on....

The following users liked this post:
opboarding (08-30-2011)
03-12-2010, 08:49 PM
#3

I had to sign in just to comment on this... WOW! Excellent job on both the lights and the writeup. I personally prefer amber but I can see why the cleared lights have appeal. As they say back in the motherland, jeng! 
P.S. Who is that sexy beast in those pictures???
P.S. Who is that sexy beast in those pictures???
03-12-2010, 08:56 PM
#5
Oh, how come you guys didn't wear something like nitrile gloves?
03-12-2010, 09:02 PM
#6
Three Wheelin'
Thread Starter
the person in the picture is not me haha, im in the gray lol
Thanks!, took a while to write it up.
Probably should but found no need to since we weren't touching the projector.
Trending Topics
03-12-2010, 09:32 PM
#8
awesome write up and props for being the first. Cleared headlights look awesome
 03-12-2010, 09:42 PM
#10
Drifting
clearing out the headlights is common in russia
http://www.drive2.ru/cars/honda/accord/accord_2008/
03-12-2010, 10:43 PM
#11
Three Wheelin'
Thread Starter
03-13-2010, 12:10 AM
#12
lol no I meant first for the 2nd Gens.
03-13-2010, 02:09 AM
#15
SeeYou2Crew #2
dude you have no idea how long i've been waiting for this...that is HOT! def. gonna be one of my up comping mods. maybe summer?! gotta paint match grill first. but dman, thats so nice good job bro.
03-13-2010, 08:11 AM
#16
Three Wheelin'
Thread Starter
heh well you don't really have to buy that much materials. I had most of the stuff besides the clamps which cost me 8 bucks total. most important thing is that you have to ensure a tight seal because if not it could lead to condensation and then you have to do it over again.
03-14-2010, 01:18 PM
#18
Three Wheelin'
Thread Starter

 03-15-2010, 02:38 PM
#25
Three Wheelin'
Thread Starter
thanks man! hopefully this helps people who want to do this.
thanks! For the US models, they have a whole sports bumper replacement which is I believe identical to the Modulo Sports bumper in Europe and Japan. But what we don't have is the front lip that everyone else has.
thanks! For the US models, they have a whole sports bumper replacement which is I believe identical to the Modulo Sports bumper in Europe and Japan. But what we don't have is the front lip that everyone else has.
 04-30-2010, 03:33 PM
#28
Three Wheelin'
Thread Starter
05-03-2010, 11:59 AM
#29
Self Aware
Join Date: Apr 2010
Location: Gotham City Limits, California
Posts: 86
Received 0 Likes
on
0 Posts

